Part 2: Deploying to Netlify
Part 1 is here.
First we need to prepare configuration file for netlify in hugo.
| |
Paste the following into the netlify.toml file. Change the HUGO_VERSION to accordingly.
| |
Deploying to Netlify
Before we proceed, ensure that you have your website project host on github. If you have been following the steps from previous article, then you are good to go and your codes are already on Github.
Create a Netlify account
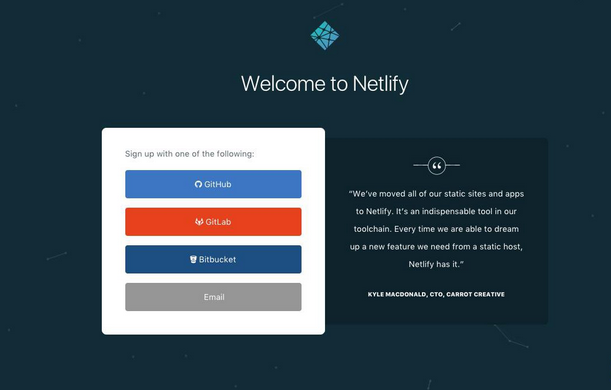
Visit app.netlify.com and select your preferred signup method. For our case, we are using GitHub, so select that option and proceed with signup.
Create a New Site with Continuous Deployment
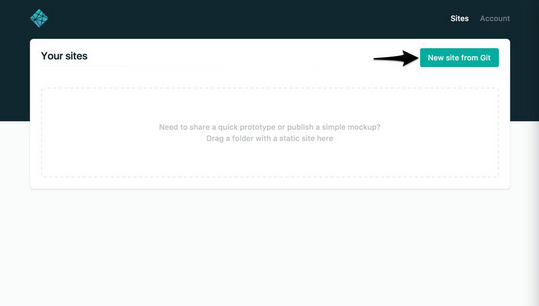
Select the “New site from Git”
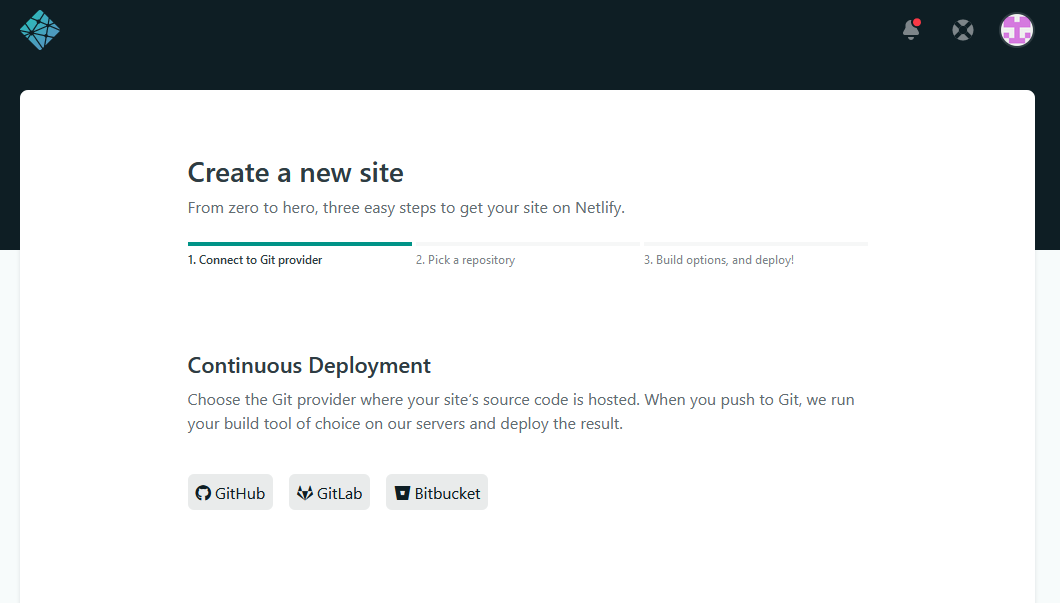
Select your git provider
Select your git provider. For this scenario, we are using GitHub.
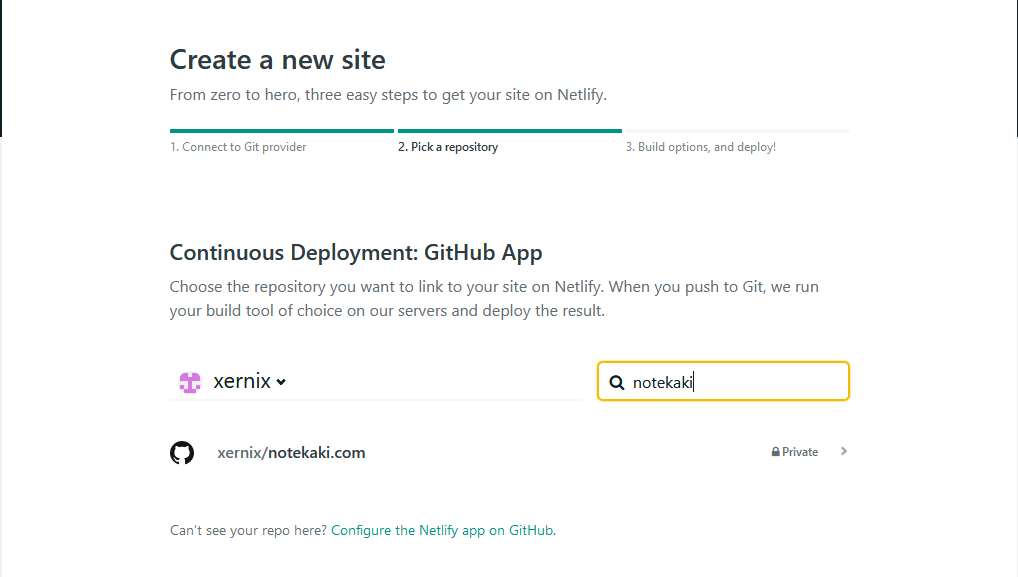
Select the repository you want to use for continuous deployment.
Choose your Hugo website repository. For this case, I choose notekaki.com
Deploy settings
Select the branch you want to be published, your build commands and your publish directory. For our case, we are using master branch. Publish directory for Hugo is public.
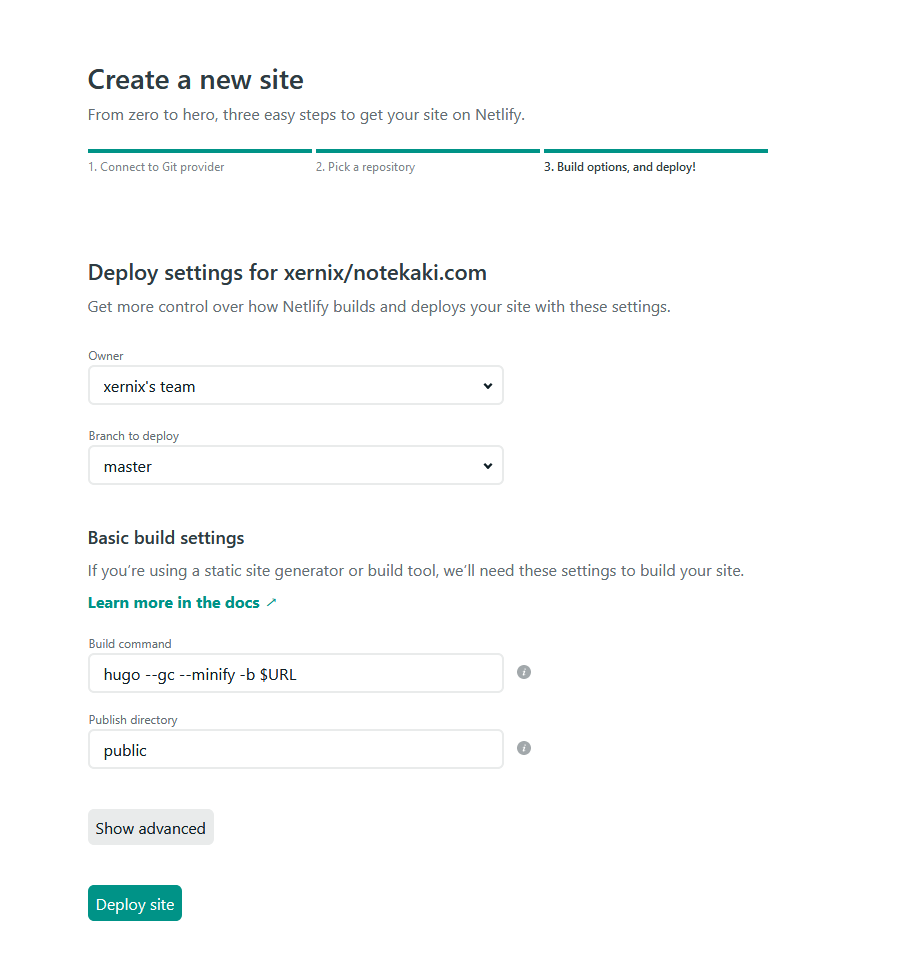
Build & deploy site
Once you have finished with the deployment settings, click Deploy Site and wait for it to be built.
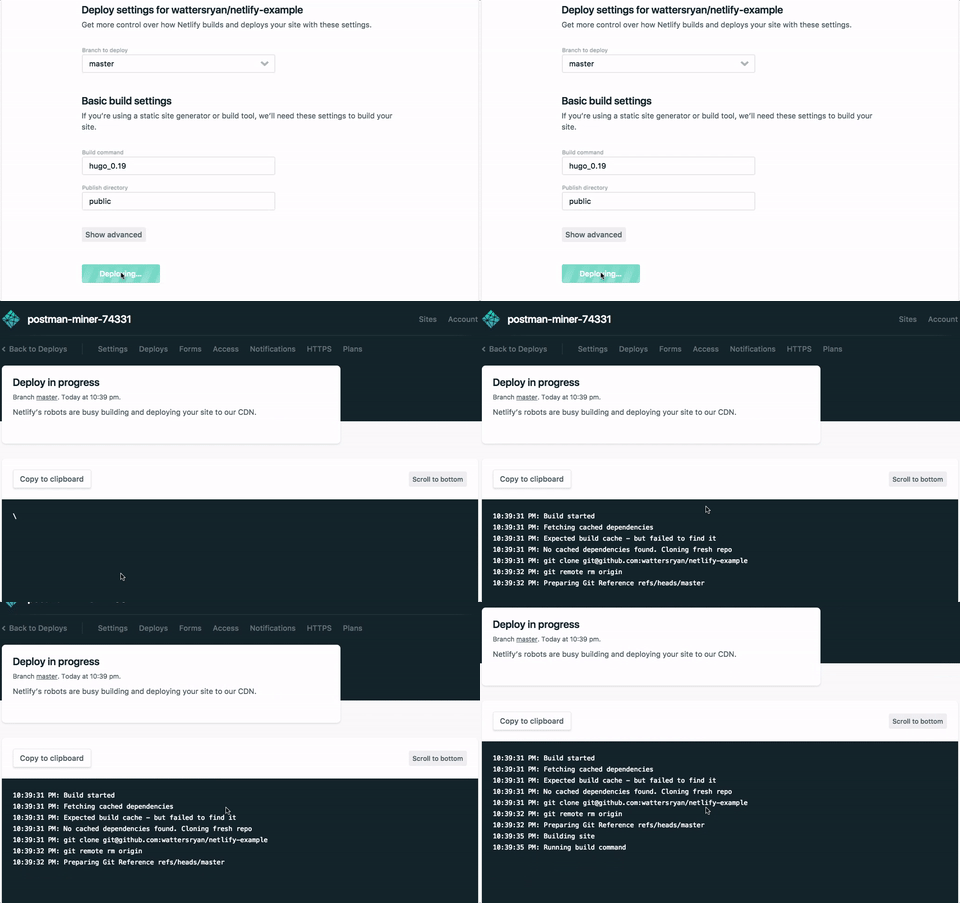
Once the build is finished, you should now see a “Hero Card” at the top of your screen letting you know the deployment is successful. You’ll see that the URL is automatically generated by Netlify. You can update the URL in “Settings.” Visit the live site.
Now every time you push changes to your hosted git repository, Netlify will rebuild and redeploy your site.
