Getting Started with Hugo with VSCode + WSL
Prerequisite
Before we are able to install and develop out website with Hugo, below are what I assume we have already set up & running:
- You have a Windows 10 computer with WSL running. In my case I am using Ubuntu from Windows Store.
- You are familiar with Visual Studio Code (VSCode).
Installing Hugo
Open a Ubuntu terminal and run this command:
| |
This will install hugo and a bunch other required dependencies depending on your systems
Once Hugo has been installed, you are now be able to verify by typing hugo version from the terminal.

Visual Studio Code
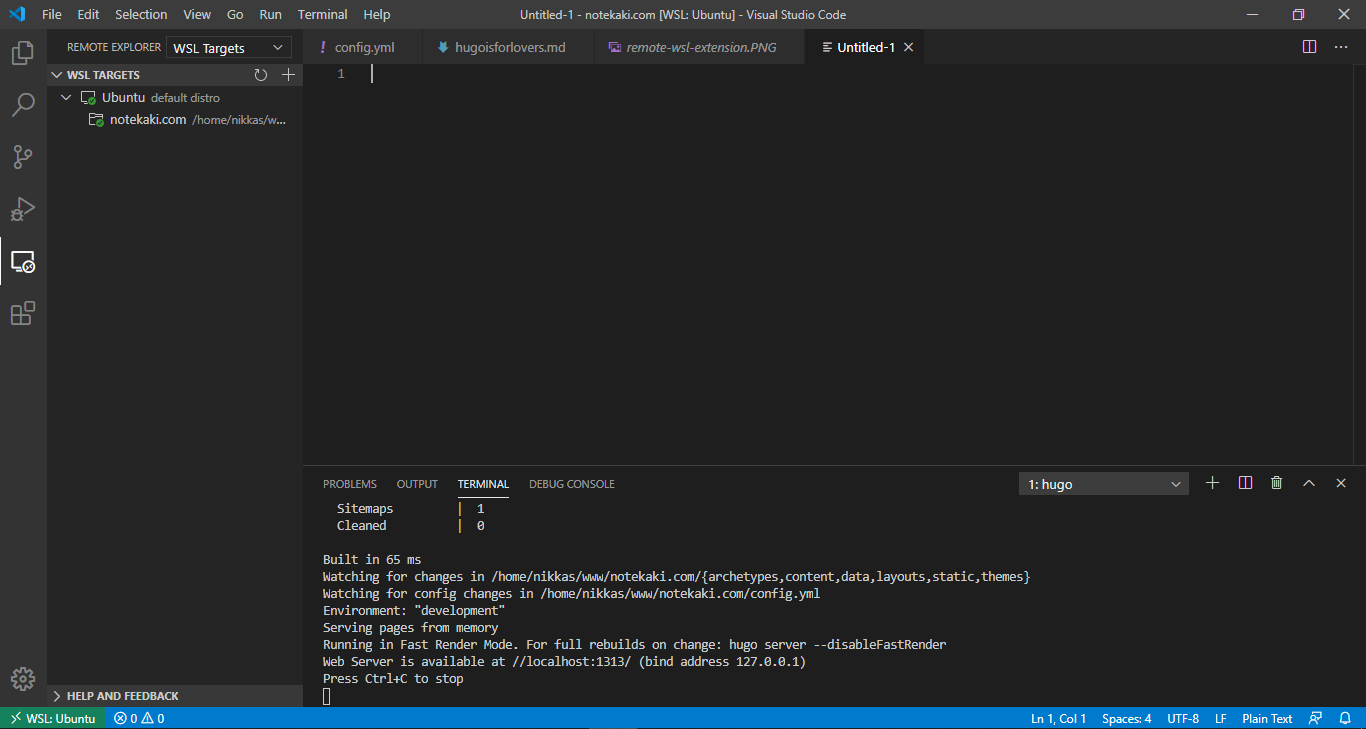
The beauty of using VSCode as your text editor is, you can run remotely access your WSL installation on your PC as well as directly running a terminal from VSCode. This really help my workflow.
Once you launch your VSCode, it will detect that you have a WSL running and prompt you with recommendation to install the extension: Remote - WSL.
Install the extension.
Once the extension has been installed, you will able to connect to your WSL and open up a terminal from inside the VSCode. You can open the terminal from Terminal > New Terminal.

From the terminal windows, to create a new hugo site:
| |
Bare in mind that, hugo will create <yoursitename> directory from where the command was launch. In my case, I created my site directory notekaki.com under www directory inside my home\username\
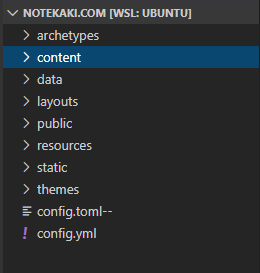
Directory structure:
| |
You can open the <yoursitename> directory from VSCode and start developing with Hugo!

